Managing Projects
A project holds a study’s subjects, sessions and procedures, and decides who can read and change them. This tutorial gives your lab group and individual collaborators a level on a project, changes the levels, edits the project’s details and links its publication. At the end, everyone who works on the study has the access they need.
Prerequisites: a project you own (see Get started!) and a lab group (see Manage Groups).
Table of contents
- Step 1: Open the project’s Manage permissions page
- Step 2: Invite your lab group
- Step 3: Change or remove levels
- Step 4: Edit the project’s details
- Step 5: Link the publication
- End state
- Next steps
Step 1: Open the project’s Manage permissions page
- Click Projects in the left menu, or go to www.brainstem.org/private/stem/project/.
- Open the project.
- Click Manage. The Manage permissions page opens. Everyone with access can open it; only Managers and Owners can change it.
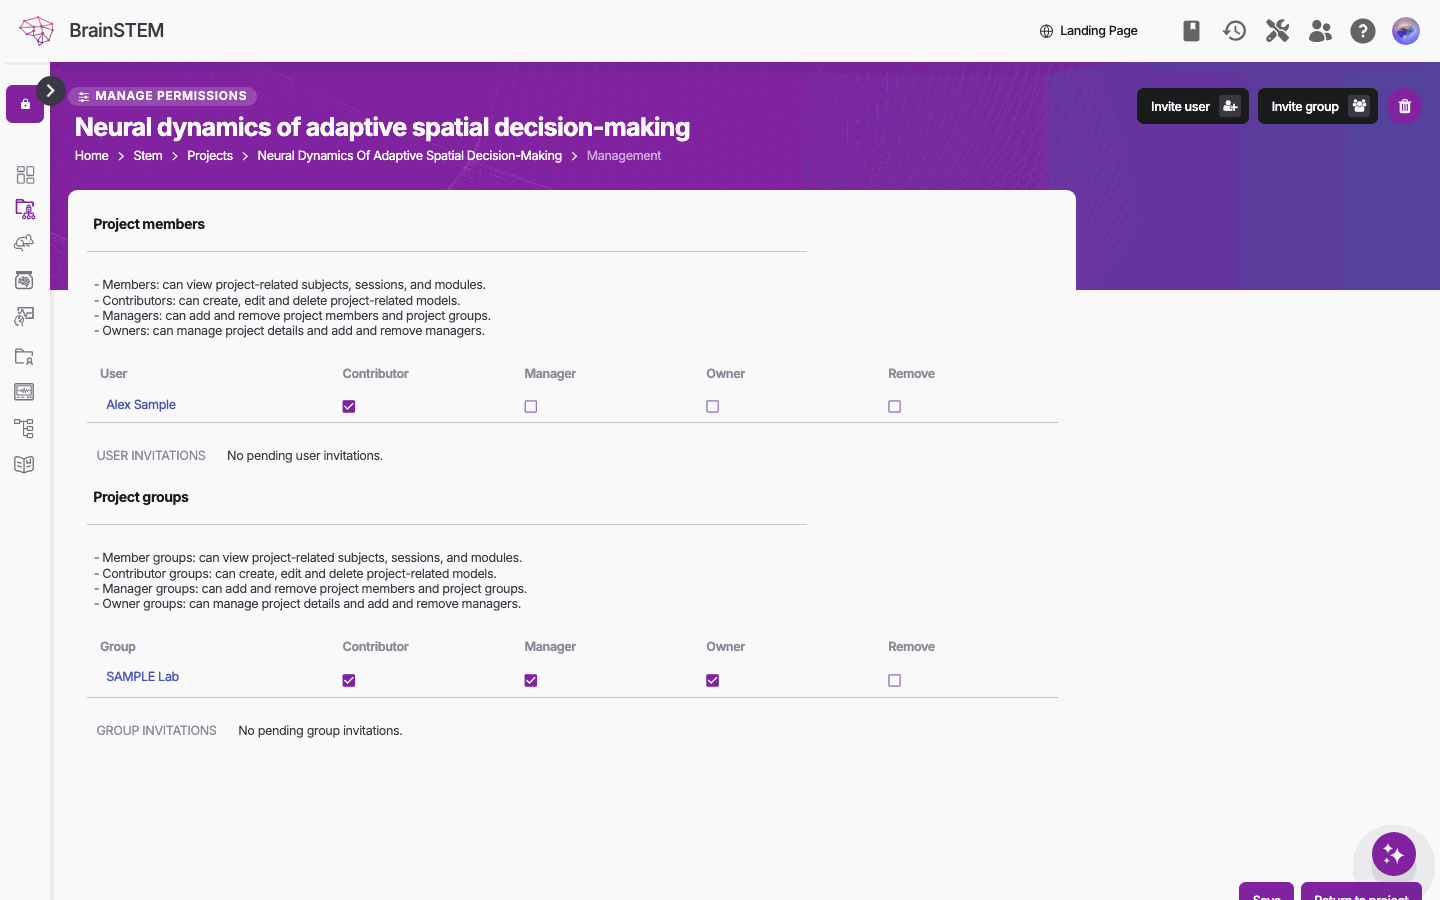
The project’s Manage permissions page: a member (Alex Sample, Contributor) and a group (SAMPLE Lab, Contributor, Manager and Owner) with their Contributor, Manager, Owner and Remove boxes, and the Invite user and Invite group buttons.
Step 2: Invite your lab group
- Click Invite group.
- Type your group’s name and pick it from the suggestions.
- As an Owner, tick Contributor under Extra permissions, so that your lab members can add subjects and sessions.
- Click Send invitation.
Leaving all boxes unticked invites the group as Members, who can only read the project. Managers who are not Owners do not see Extra permissions, so their invitations always grant Member; an Owner must raise the level afterwards.
The group’s managers receive an email, and any member of the group can accept the invitation under Invitations & Requests. Every current and future member of the group then holds the group’s level. Invite an individual collaborator the same way with Invite user and their email address; people without an account receive a sign-up link that is valid for 14 days.
Step 3: Change or remove levels
- On the Manage permissions page, tick or untick Contributor, Manager or Owner in a user’s or group’s row, or tick Remove.
- Click Save. “Permissions updated successfully!” confirms the change.
Removing a user or group immediately revokes their access. Only Owners can grant or take away Manager and Owner, and a project always keeps at least one Owner. An Owner can change the project’s details, make it public and delete it, so give the Owner level sparingly.
The invitation flow, the messages and leaving a project are described on Sharing and memberships; what each level allows is on the Permissions page.
Step 4: Edit the project’s details
You need Owner on the project.
- Open the project and click Edit.
- Change the Description or Tags, or the Project name in storage under Online repositories if your data folders use another name.
- Click Save.
All fields are described on the Projects page. Project visibility makes the project public; see Share data publicly before switching it.
Step 5: Link the publication
- On the project’s edit page, click the + next to Publications.
- Enter the DOI and click Lookup DOI, as described in Resources & Taxonomies, and save the publication.
- Select it in Publications and click Save.
The DOI then appears in the project’s STAR Methods report and NWB files. The Publication coverage dashboard widget shows which of your projects have a publication.
End state
Your lab group and collaborators hold the roles they need on the project, and the project carries its description and publication. Contributors can now add subjects and sessions to it.
To download the project or draft a methods section, use Export on the project’s page; see Exports and reports. Graph on the project’s page shows its entries counted by kind; the Interactive data model shows how permissions flow from the project.
Next steps
- Next: Electrophysiology Workflow: document a complete experiment in the project.
- Two-Photon Imaging Workflow and Ex vivo workflow: other complete workflows.
- Share data publicly: publish the project when the study is out.
- Data model: Projects and Permissions.
- Exporting to NWB: turn the project’s export into NWB files.